
 The expense of equipment is one of the major reasons why most people buy marijuana instead of growing it themselves. But the cost should not discourage you because the basic setup does not have to be costly at all.
Costing about 100 dollars or a bit less, it will not break the bank. However, you can yield ounces at a time by investing a few hundred dollars in equipment. This business pays for itself very quickly. You can reap the benefits after just twelve weeks from your first harvest.
In addition to equipment, you are also supposed to have some knowledge on growing marijuana indoors. This beginner’s guide aims to help first-time growers learn everything needed to successfully build their first indoor grow setup for marijuana.
Full Contents
- 1 Your First Setup for Growing Marijuana Indoors
Here’s what you will need:
- Grow tent (or some other space for growing)
- Seeds
- Peat pellets
- Lights & timer
- Ventilation
- Pots
- Soil & fertilizer
- Water
- Odor control
Measuring instruments and microscope are optional, but it’s recommended to obtain this piece of equipment sooner or later.
Your First Setup for Growing Marijuana Indoors
Grow Space
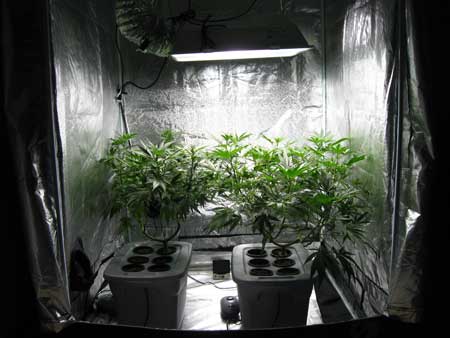
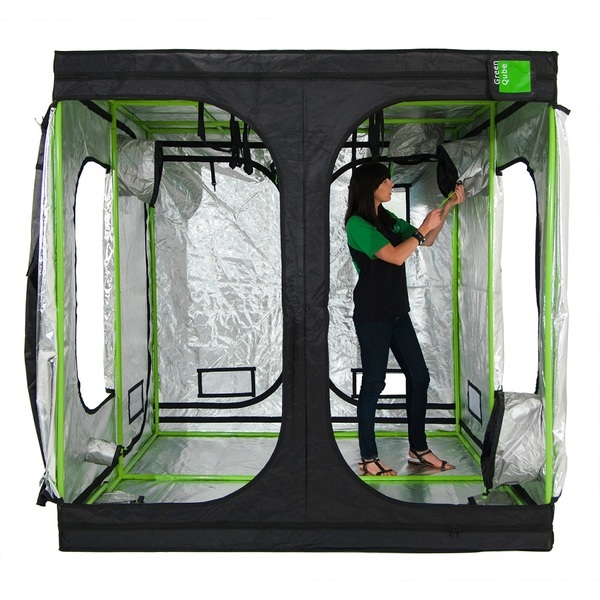 The first step in creating your indoor setup is making an appropriate growing space. You may get started with a small space like a grow tent, spare room, or even a closet instead of the typical grow room which usually implies converting a cellar into a greenhouse.
Most people opt for a grow tent because it offers a lot of benefits as follows:
- Can keep the light inside
- Can keep the plants’ fragrance
- Comes with reflective insights
- Comes with opening(s) for fresh air
- Comes with opening(s) for electric cables
- Easy to set up and use
- Cheap
Make sure to choose a suitable size when buying a tent for your indoor setup, as your plants and equipment should fit that space.
Marijuana Seeds
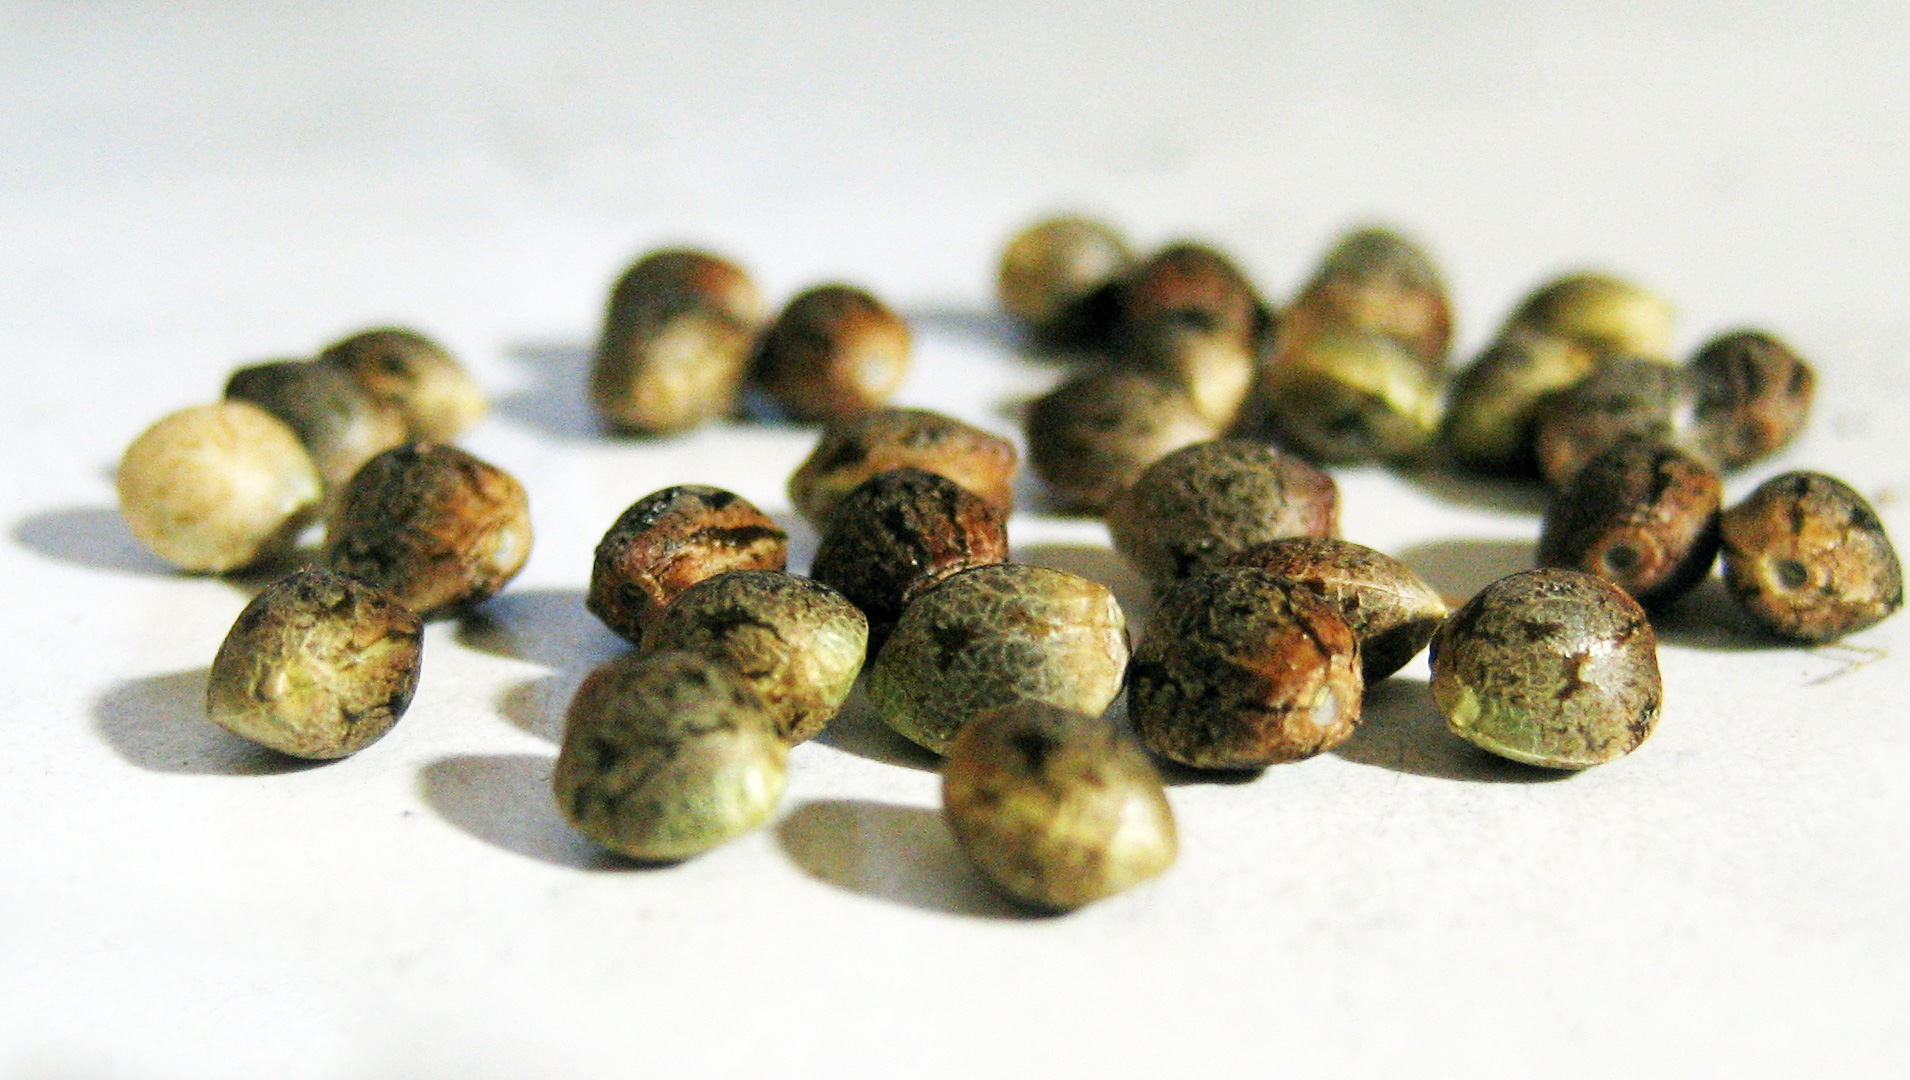 Getting the marijuana seeds is a crucial part of this business. Some people grow their plants from seeds to enjoy a gratifying experience. Others relish while controlling the nutrition and growth of their plants. Regardless of the reason, it’s very important to pick out the high-quality seeds.
But where to go shopping? The good seed shops hide the marijuana seeds well in their parcels. They charge about 10 dollars per seed.
You can also buy seeds online from legal vendors but be sure to choose a reputable and trustworthy cannabis seed bank. Ordering marijuana seeds from the comfort of your own home is easier than ever, however, it may seem scary to first-time buyers. But you really don’t have to worry if this is permitted by your local laws.
The seeds you have received should feature a tiger stripe pattern. Rest assured that no seed is completely black because such a seed is dead and hence useless.
Peat Pellets for Germination
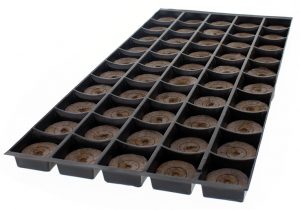 If you want your seeds to germinate with ease, make use of peat pellets. Put some pellets (10 of these will be quite enough) into the water and leave them for a few minutes to soak and expand.
Once they have got fat and big, insert each of the seeds into one peat pellet so they’re roughly 1/2 inch deep.
Then put those pellets onto a plate or into a plastic container and leave them for a while at room temperature. It’s essential to keep it moist all the time. Be careful when watering! You mustn’t pour water right on top of the peat pellets because they will wash away.
Your plants are gonna sprout after 3–7 days. It’s the time now to turn the lights on in your grow tent.
Light and Timer
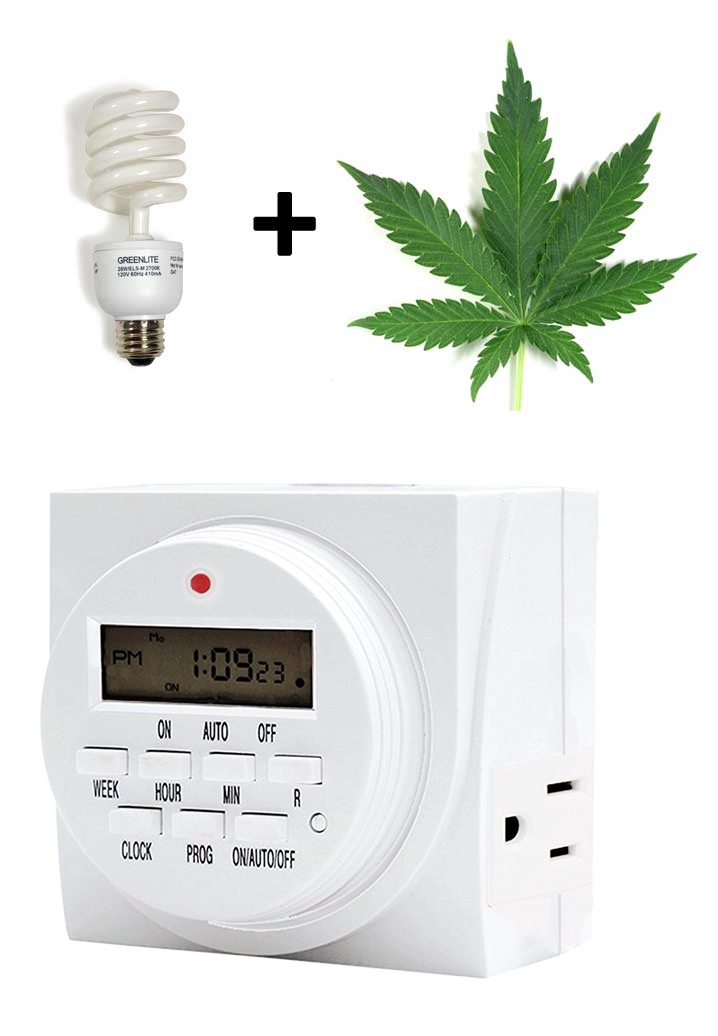 As you may already know, cannabis requires a lot of light to grow. But aside from the quantity, you should pay attention to the quality of light as well. Keep in mind that the light is going to be the key factor in the amount and grade of your yields. The better the light, the more you will harvest!
There are three basic types of lights for growing cannabis indoors:
- LEDs
- HID lights
- CFL lights
Although everyone can choose the grow lights as per his needs, we recommend using LEDs since those lamps are proven to produce less heat and consume less electricity. That will considerably cut down on your utility bills.
How to light properly? As stated above, you should start lighting once the seeds have sprouted. Your plants will need approximately 18 hours of light per day, i.e., six hours of dark, till they’re about 25 days old. This is where a timer comes in.
A programmable timer can control it instead of you, so it’s worth having one. Be sure to purchase a high-quality timer, such as Enover Programmable Plug-in Digital Timer or iPower 7-Day Digital Timer, that keeps time accurately while handling the higher amount of electricity.
After your plants reach around 25 days of age, decrease the duration of light to12h per day. That will trigger the flowering stage.
Ventilation
 Fresh air is essential to cannabis plants to grow and thrive properly. For that reason, you’ll have to provide your grow tent with a steady stream of airflow. Otherwise, your grow area will be prone to develop harmful insects, such as spider mites, which can wreak havoc on your crop.
Air circulation is also important to reduce the heat in the grow space that comes from the lamps. Despite the fact that cannabis plants like warming up, too much heat can burn them badly. Ideally, the temperature should be between 70 °F and 85 °F when the lights are on, as well as between 58 °F and 70 °F when they are off.
Ventilation is also necessary to control the plants’ odor as they mature.
To circulate air and keep your grow space well ventilated all the while, you’ll need to purchase an exhaust fan like the Holmes Dual Blade Twin Window Fan. It runs quietly, comes with 2 speed settings, and allows you to reverse the airflow for exhaust. Simply place this stand-alone fan near the top of your grow tent/room and get rid of the warm air.
Another solution is to buy an all in one grow tent which is equipped with fans, ducting, and lights. Check out Gorilla Grow Tent. This 4′ x 4′ tent includes a LED system, a hygro-thermometer, and Active Air controllers.
Pots
 You should pot the seedlings when they start to push the roots out of the pellet by placing the burying them deep into the soil along with the pellets.
How to choose the container for your plants? That mainly depends on the size, the system, and the medium of your herbs. For example, the small net pots are suitable for tray-style flood-and-drain hydroponics, whereas the big 10-gallon nursery pots are recommended for “super-soil” grow-ops.
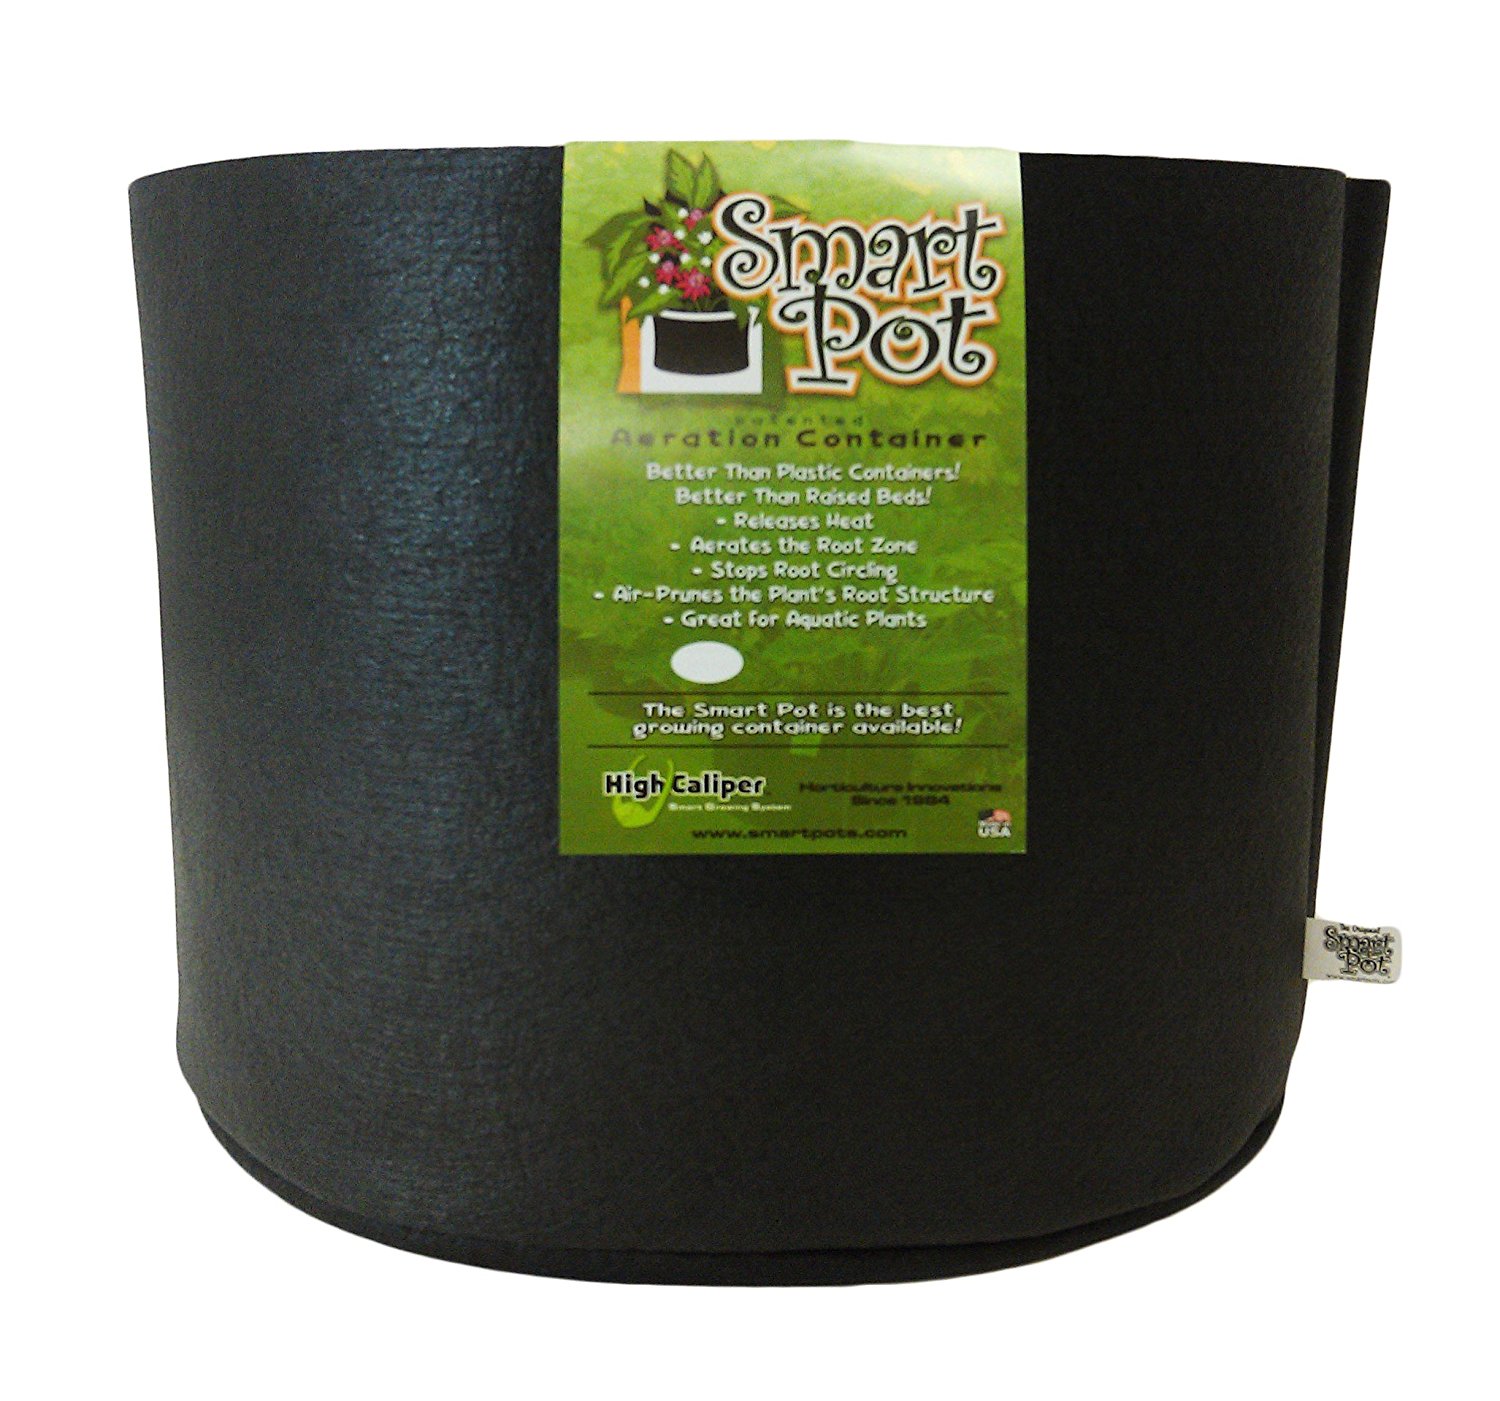
Fabric Pots present the recent development in growing cannabis. Many pot growers prefer using those pots over the solid plastic pots. This is because Fabric Pots enable the oxygen to reach the plant’s roots while letting the excess water drain out. The plant that grows in such a pot is less likely to get rootbound or root rot.
Smart Pots are some of the most popular pots of that sort. Those soft-sided containers are available in several sizes, ranging from 1 to 1000 gallons. You need to pick them according to the size of your grow area. It’s advisable to use the pots having at least three-gallon capacity if you’re running grow lights with more than 25 watt/square foot. Your best bet is to use 5-gallon Smart Pots because it’s hard to go wrong with them.
Soil and Fertilizer
There are many different methods of indoor growing cannabis to choose from, but they all add up to soil and hydroponic mediums. As a newbie, you’re advised to get started with soil and nutrients.
Don’t use chemicals at all! If you want to get the best flavor, go for organic soil. Organic pre-fertilized soil (also called super-soil) is a good choice for beginners. Being enhanced with a variety of nutrients, such a soil lets you grow your plants without adding any nutrients for a few weeks. Most pre-fertilized products rely on a population of soil bacteria and mycorrhizae that alleviate conversion of organic compounds into plant nutrients.
Black Gold sells16-quart bag is an all-organic potting soil that boasts a fine drainage. It is enriched with perlite, pumice, earthworm castings, and organic fertilizers. Therefore, you will not need to use other nutrients for your crop until the third or fourth week.
Same goes for fertilizers (nutrients). Always aim to use the best organic products to get an appealing smell and high-end taste – yum!
Watering
 If the water I drink is good for me, it will be fine for my plants, too. Wrong! You should think twice about the water you’ll be using on your setup for growing cannabis. Depending on your location, it could be an issue.
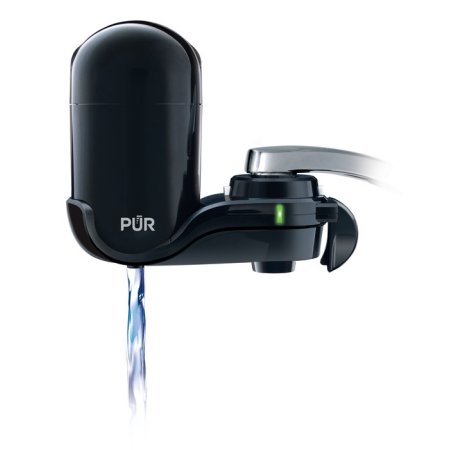
Some water is too rich in dissolved minerals, which can have a negative impact on nutrient uptake and create a build-up in the root zone. Likewise, water may contain pathogens or fungus that are not noxious to humans but can seriously damage the roots of cannabis plants. The water supply may feature high chlorine levels in some areas, which can affect beneficial microbes in the soil. That’s why many people filtrate the water they’re using in their gardens.
Use filtered water for your setup because it has fewer chemicals than water from a faucet. Simply set up a filter on your faucet and you will have purer water. There is a myriad of water filters to choose from. PUR filters would be a good choice for you. This brand has gained a good reputation and their filters fit most faucets. These water filters can handle an average of 100 gallons, so they can last for a relatively long time.
More Tips on Watering Your Cannabis Plants
Besides the quality you should also consider the quantity of water you use. Do not overwater! Overwatering is a common mistake many beginning growers make. Remember that cannabis plants are prone to develop fungal root illnesses in excessively humid conditions. How often and how much you water your herbs will depend on the ambient temperature, growing medium, and size of the herbs.
Make sure to water young plants just once a week and mature plants once a day. In fact, there’s no general rule on watering; you should water your plants when the soil gets dry. Here are two tricks to figure out whether you should water:
- Touch the soil with your fingers. If the soil feels cool, that means you don’t have to water it yet. But if the soil feels warm, you will need to give water.
- Check out the leaves. If the leaves are hanging down, that means they’re perilously thirsty. Provide them with water and they will go back to normal.
Drip irrigation systems are pretty handy, especially for larger farms, but they aren’t so convenient for a smaller setup. Get started with a watering can for now, preferably one with a long spout that fits well under the faucet. As you gain knowledge and experience, you will alter your equipment.
 Odor Control
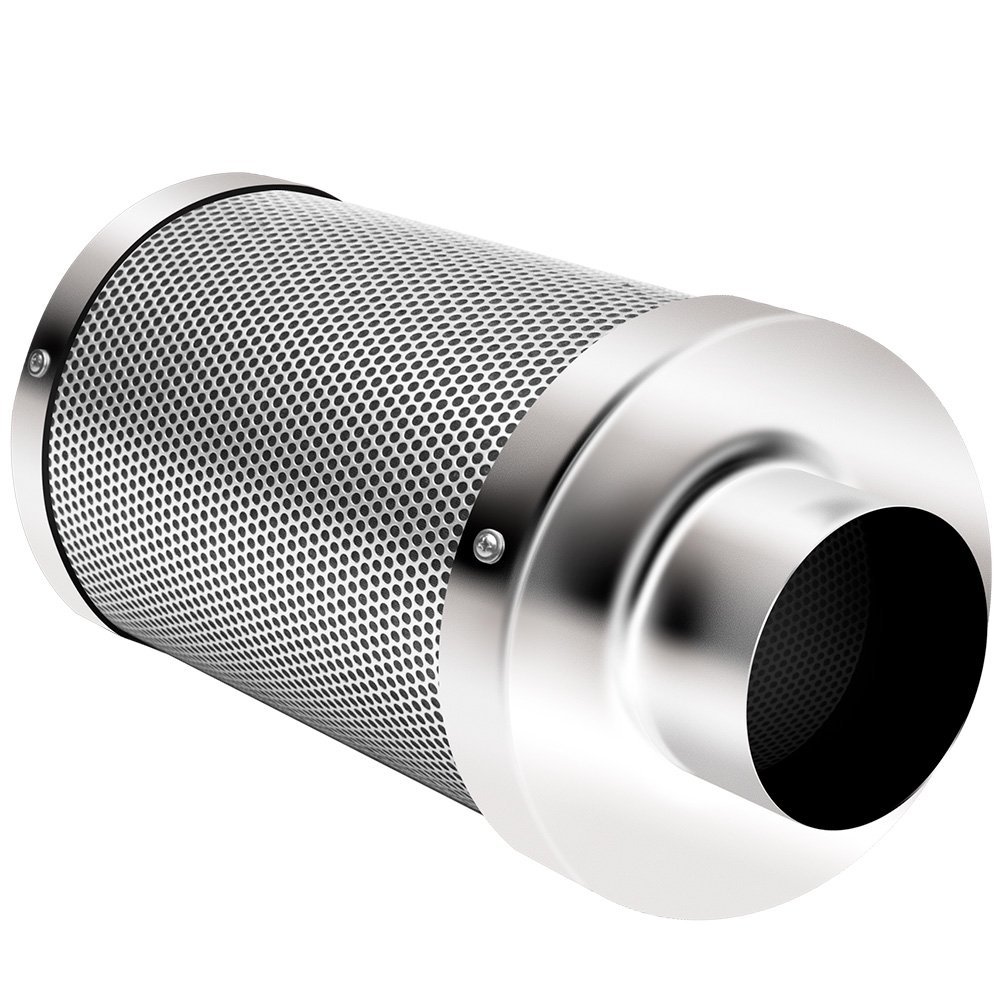
Your plants will obtain a strong fragrance after they’ve been blooming for a few months. Therefore, it’s useful to have an odor control system installed.
The air ventilation system itself is not enough. You will also need some charcoal filters. iPower Air Carbon Filter is a low-maintenance solution that can last you about a year. It’s definitely worth purchasing.
Humidity and Temperature Concerns
 You are likely to have an issue controlling the environment in your grow space if it is already very humid or very warm. That’s why you need to choose a dry, cool area when running a setup for growing cannabis. Pick a spot where your plants will enjoy fresh air coming from the outside.
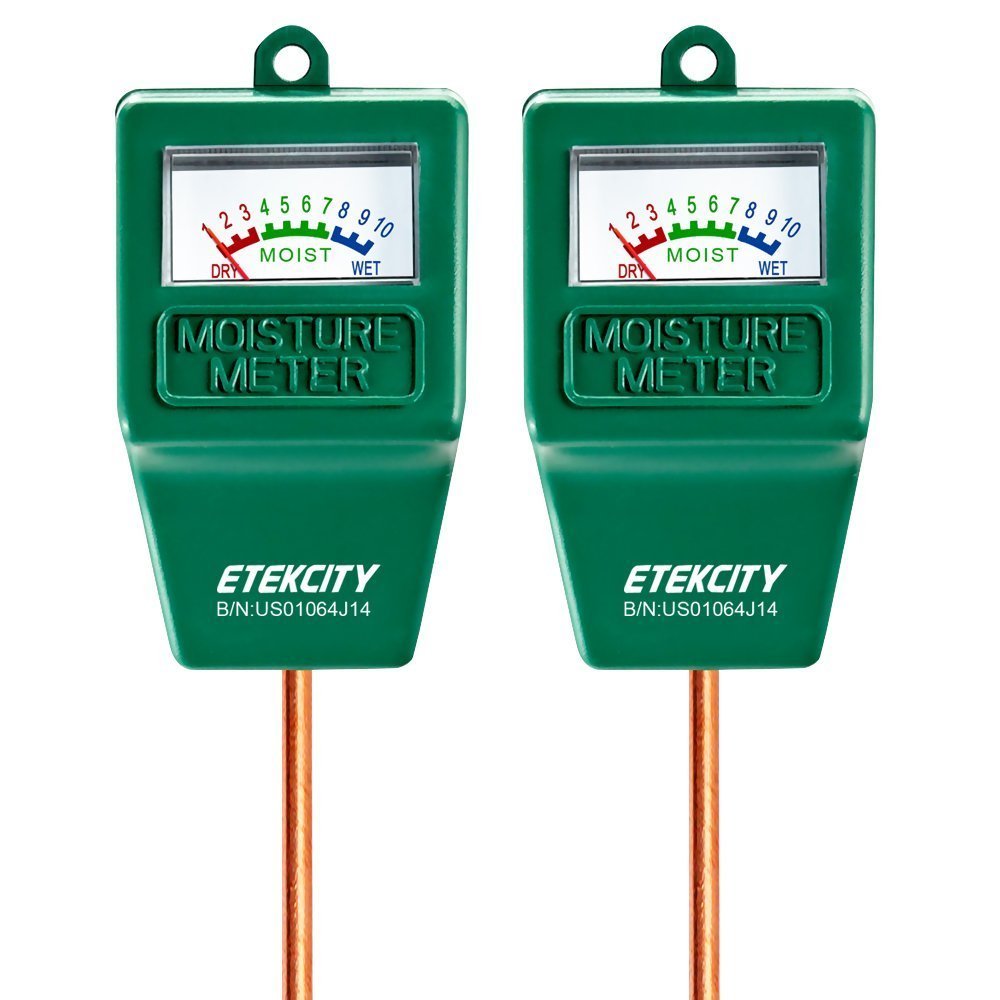
As far as the moisture, you can make use of a low-cost option, such as Etekcity’s Water Pen Tester, which is specially designed to measure humidity in the soil. It’s a breeze to use it. All you need to do is insert the tester’s rod into the soil and read on the display how moist the soil is.
When it comes to the temperature, we recommend using Extech Hygro-Thermometer. It allows you to measure both temperature and humidity with great accuracy.
Harvest Time!
 The hardest part of the job is done. After growing your plants for about 12 weeks, it’s time to harvest them. But how to be sure if it is the right time to reap?
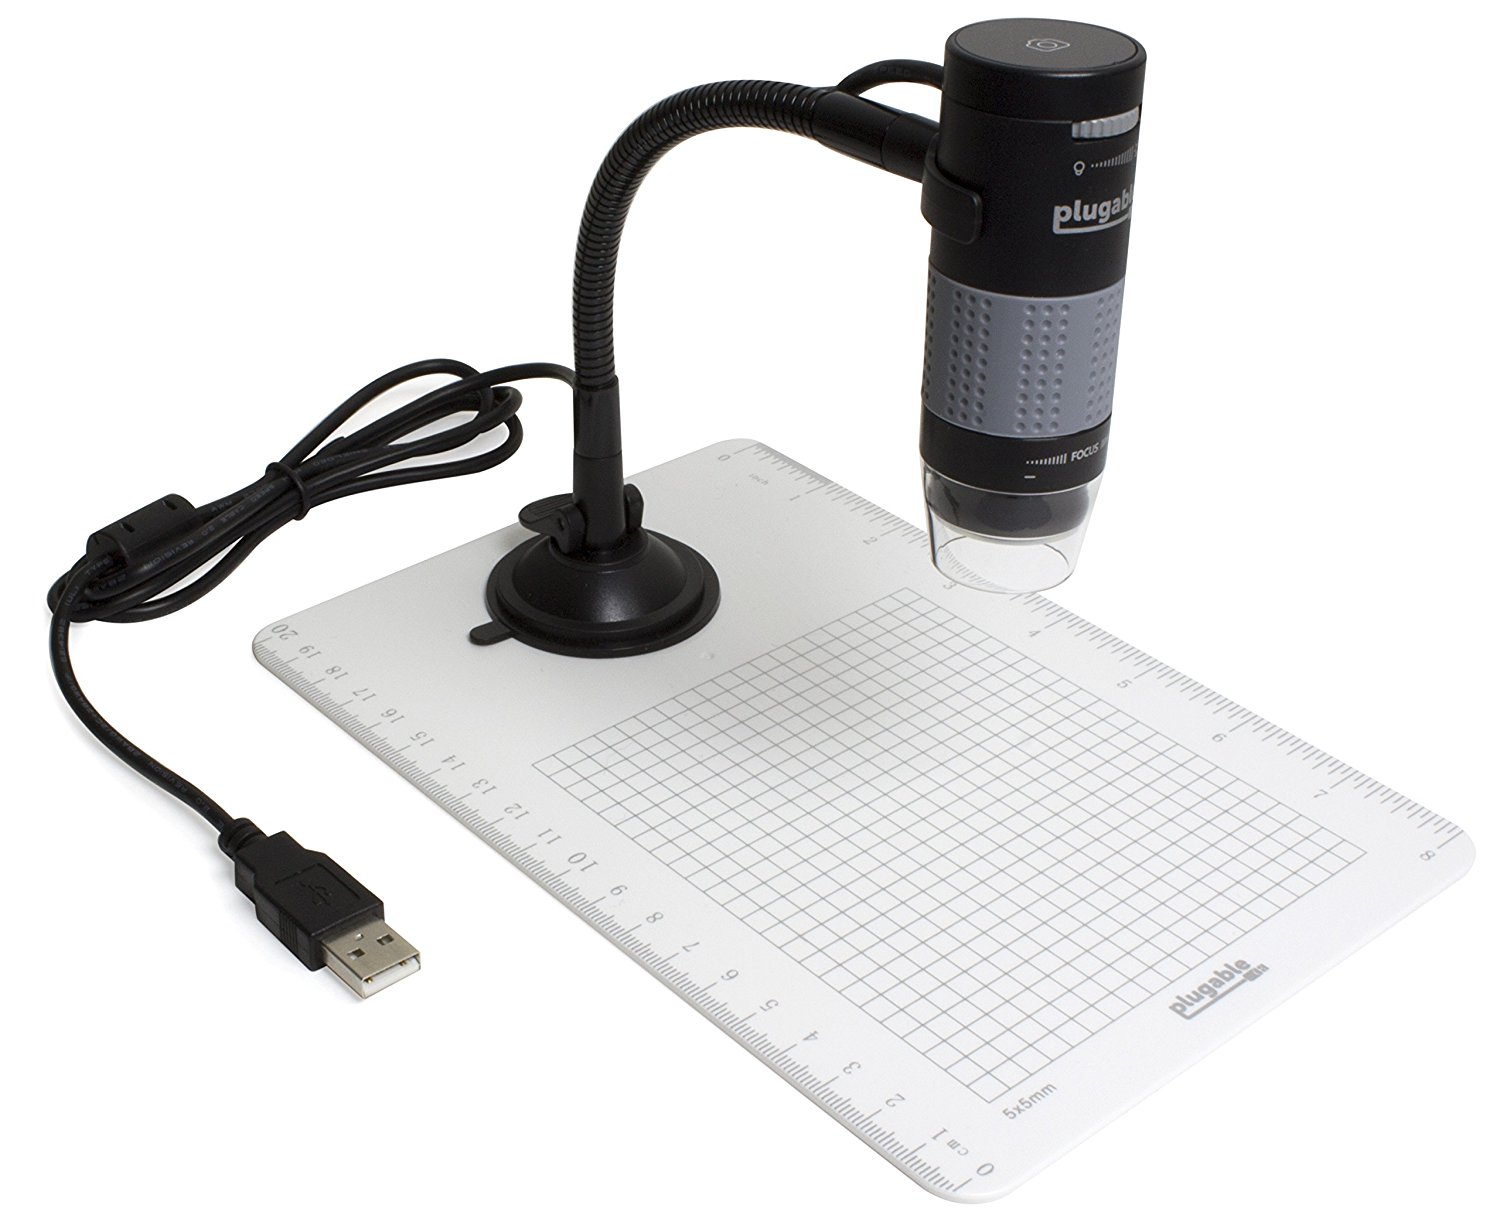
You’ve eliminated all the male plants by now, so only the female plants remain. If the trichomes (sticky hairs on the buds) have a mature brown color, that’s the sign you should start harvesting. A digital microscope, such as Plugable USB 2.0 Digital Microscope, lets you take a closer look at these small hairs to check if they are brown or white.
Harvesting could be very easy if you use an appropriate, comfortable garden shear. Just be sure to trim the whole plants immediately above the soil.
Trimming the Buds
Once you have removed leaves from the buds, you’re all set for curing time. Although the buds are smokeable right after trimming, tend to cure them for the best results. They are going to be more powerful when getting dry in a few months.
Yes, you can have an overwhelming joy now!
Our Final Take on Growing Marijuana Indoors as a Beginner
We hope you learned about the tools you need and the exact steps you must take for your indoor setup. Growing weed isn’t easy but guides like this definitely help with the process. We are happy we could guide you from the very beginning (seeding) all the way to seeing your fully grown buds.
If you still need help with your setup or want to read a full blown guide, consider buying the Cannabis Grow Bible.

The team at LEDGrowLightsHQ.com is composed of expert cannabis writers and enthusiasts, many who frequent small grow operations for recreational purposes. We often provide insight from our partners or large publications or magazines.